THIS ARTICLE MAY CONTAIN COMPENSATED LINKS. PLEASE READ DISCLAIMER FOR MORE INFO.
When it comes to selling higher ticketed products from your blog, there is a big difference between a basic sales funnel and an advanced sales funnel.
An advanced sales funnel can pave the gap between having a little success selling products and a lot of success.
As discussed in a previous post, sales funnels are so effective because they educate your audience about your product and brand, foster bonds between you and your subscribers, generate trust and show value. Basically, they are essential for selling products from your blog with great success.
But sales funnels really are a can of worms. They differ vastly and there is so much you can do to continually grow and improve your sales funnel.
This tutorial is for people who want to get more serious and advanced with their sales funnel, as well as see an example of sales funnels used successfully.
If you are a beginner to sales funnels, I recommend you follow this tutorial first.
What You Need To Know About Advanced Sales Funnels – A Sales Funnel Example For $500+ Products
You will learn...
- The sales funnel steps
- How to create a lead magnet and landing page
- How to create an email challenge
- How to create a webinar
- How to write sales emails
- How to build a long-form sales page
- Next steps
Note that any of these steps could be whole courses in themselves – in fact, some of them are a whole course in eBook Launch Pad! We keep things simple with the most need to know information in this tutorial so you can take this information and run with it for sales funnel success as soon as possible.
1. Understanding the sales funnel steps
Sales funnels take subscribers through a series of stages with the hope that they will end up purchasing our product.
A sales funnel can have an infinite number of steps, but the steps we use in our advanced sales funnel are laid out in the image below.
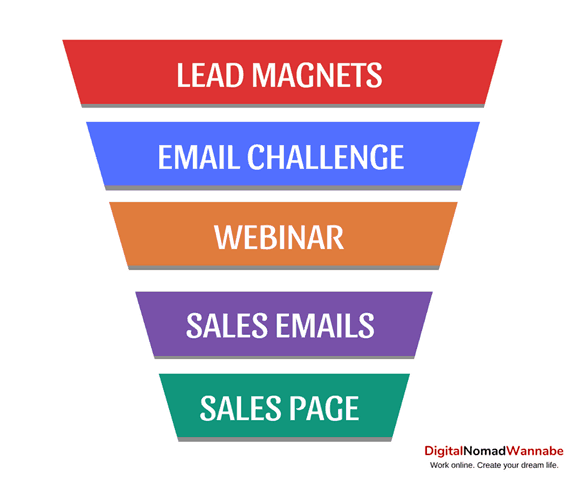
Whilst these are the major parts of our sales funnels, subscribers don’t always follow this flow. They can can come in at other parts of the funnel and purchase our products.
For example, a subscriber may download a lead magnet, sign up to the webinar and then go straight to the sales page from the webinar and buy. Or they may enter straight at the webinar stage and go down the funnel from there.
This is why it’s important to also have emails that connect each part, as well as making sure that any journey a subscriber can go through makes sense and flows nicely.
“When working out what to provide subscribers in your funnel, it’s beneficial to work backwards.
What is your product and what webinar will naturally lead to the product?
What email challenge relates to the webinar?
What lead magnet relates to the challenge?
At every stage, you want the next stage of the funnel to be a natural step. So after they complete one step, what naturally comes next?
For example, after I show people how to grow links with the link building challenge, I offer to teach them about other areas of SEO in my webinar. Then from the webinar, I offer to show them how to do everything in detail in my course.
You don’t have to have the same steps in your funnel as me or even have a webinar or challenge, but it is important that each step is a logical progression.
2. Creating a lead magnet and landing page
Lead magnets
The lead magnets you use will differ based on the offering, and you should offer several to your subscribers.
“Lead magnets should be very attractive to our subscribers and offer a lot of value.
But this doesn’t mean they need to be huge or take a long time to develop. They can be a simple checklist or cheat sheet – anything that will make your subscriber’s life better and will lead as a gateway to invite them to participate in our webinar/challenge/whatever the next step of your funnel is.
We have many several lead magnets on our site (more about lead magnets here).
For example, for lead magnets which eventually lead to us selling our SEO course, SEO Fast Track, we have subscriber boxes set up in related posts where people can download our SEO Zero To Hero Checklist.
This is a quick, easy to consume checklist which provides lots of value. In fact, simple lead magnets are usually the best as people often don’t have time to read a whole eBook or something long.
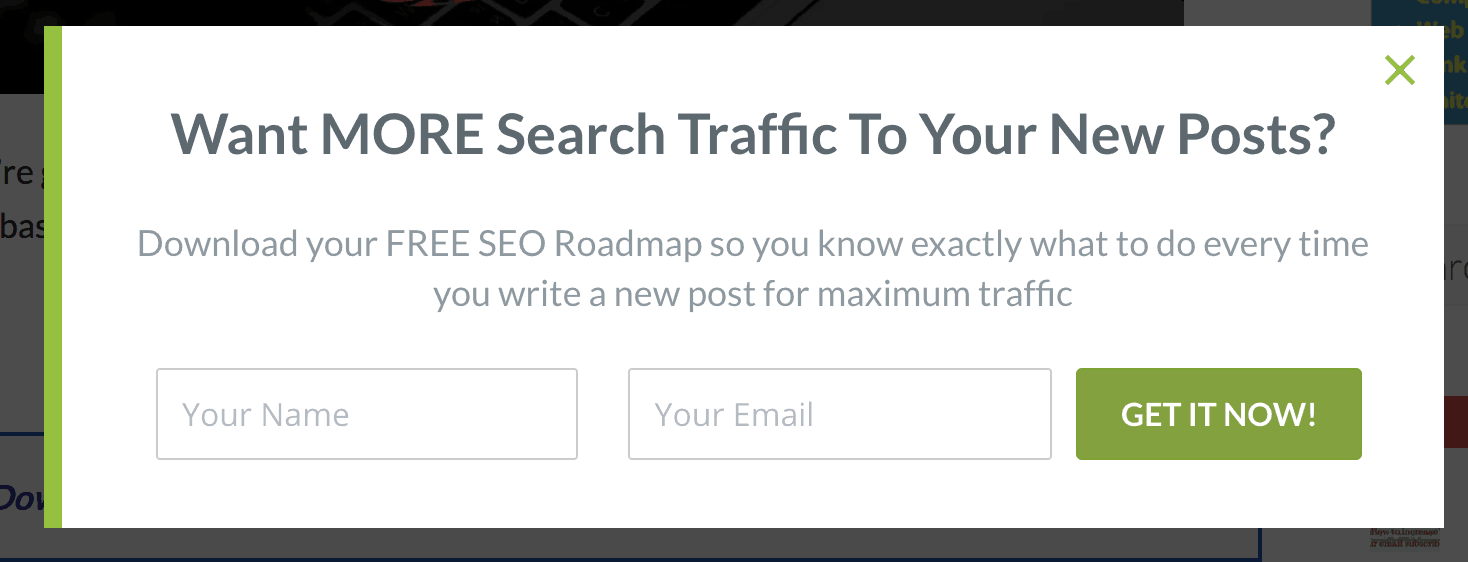
Zero To Hero SEO Checklist subscriber box
We also offer a free SEO Checklist which encourages people to build links, naturally flowing to the link building challenge.
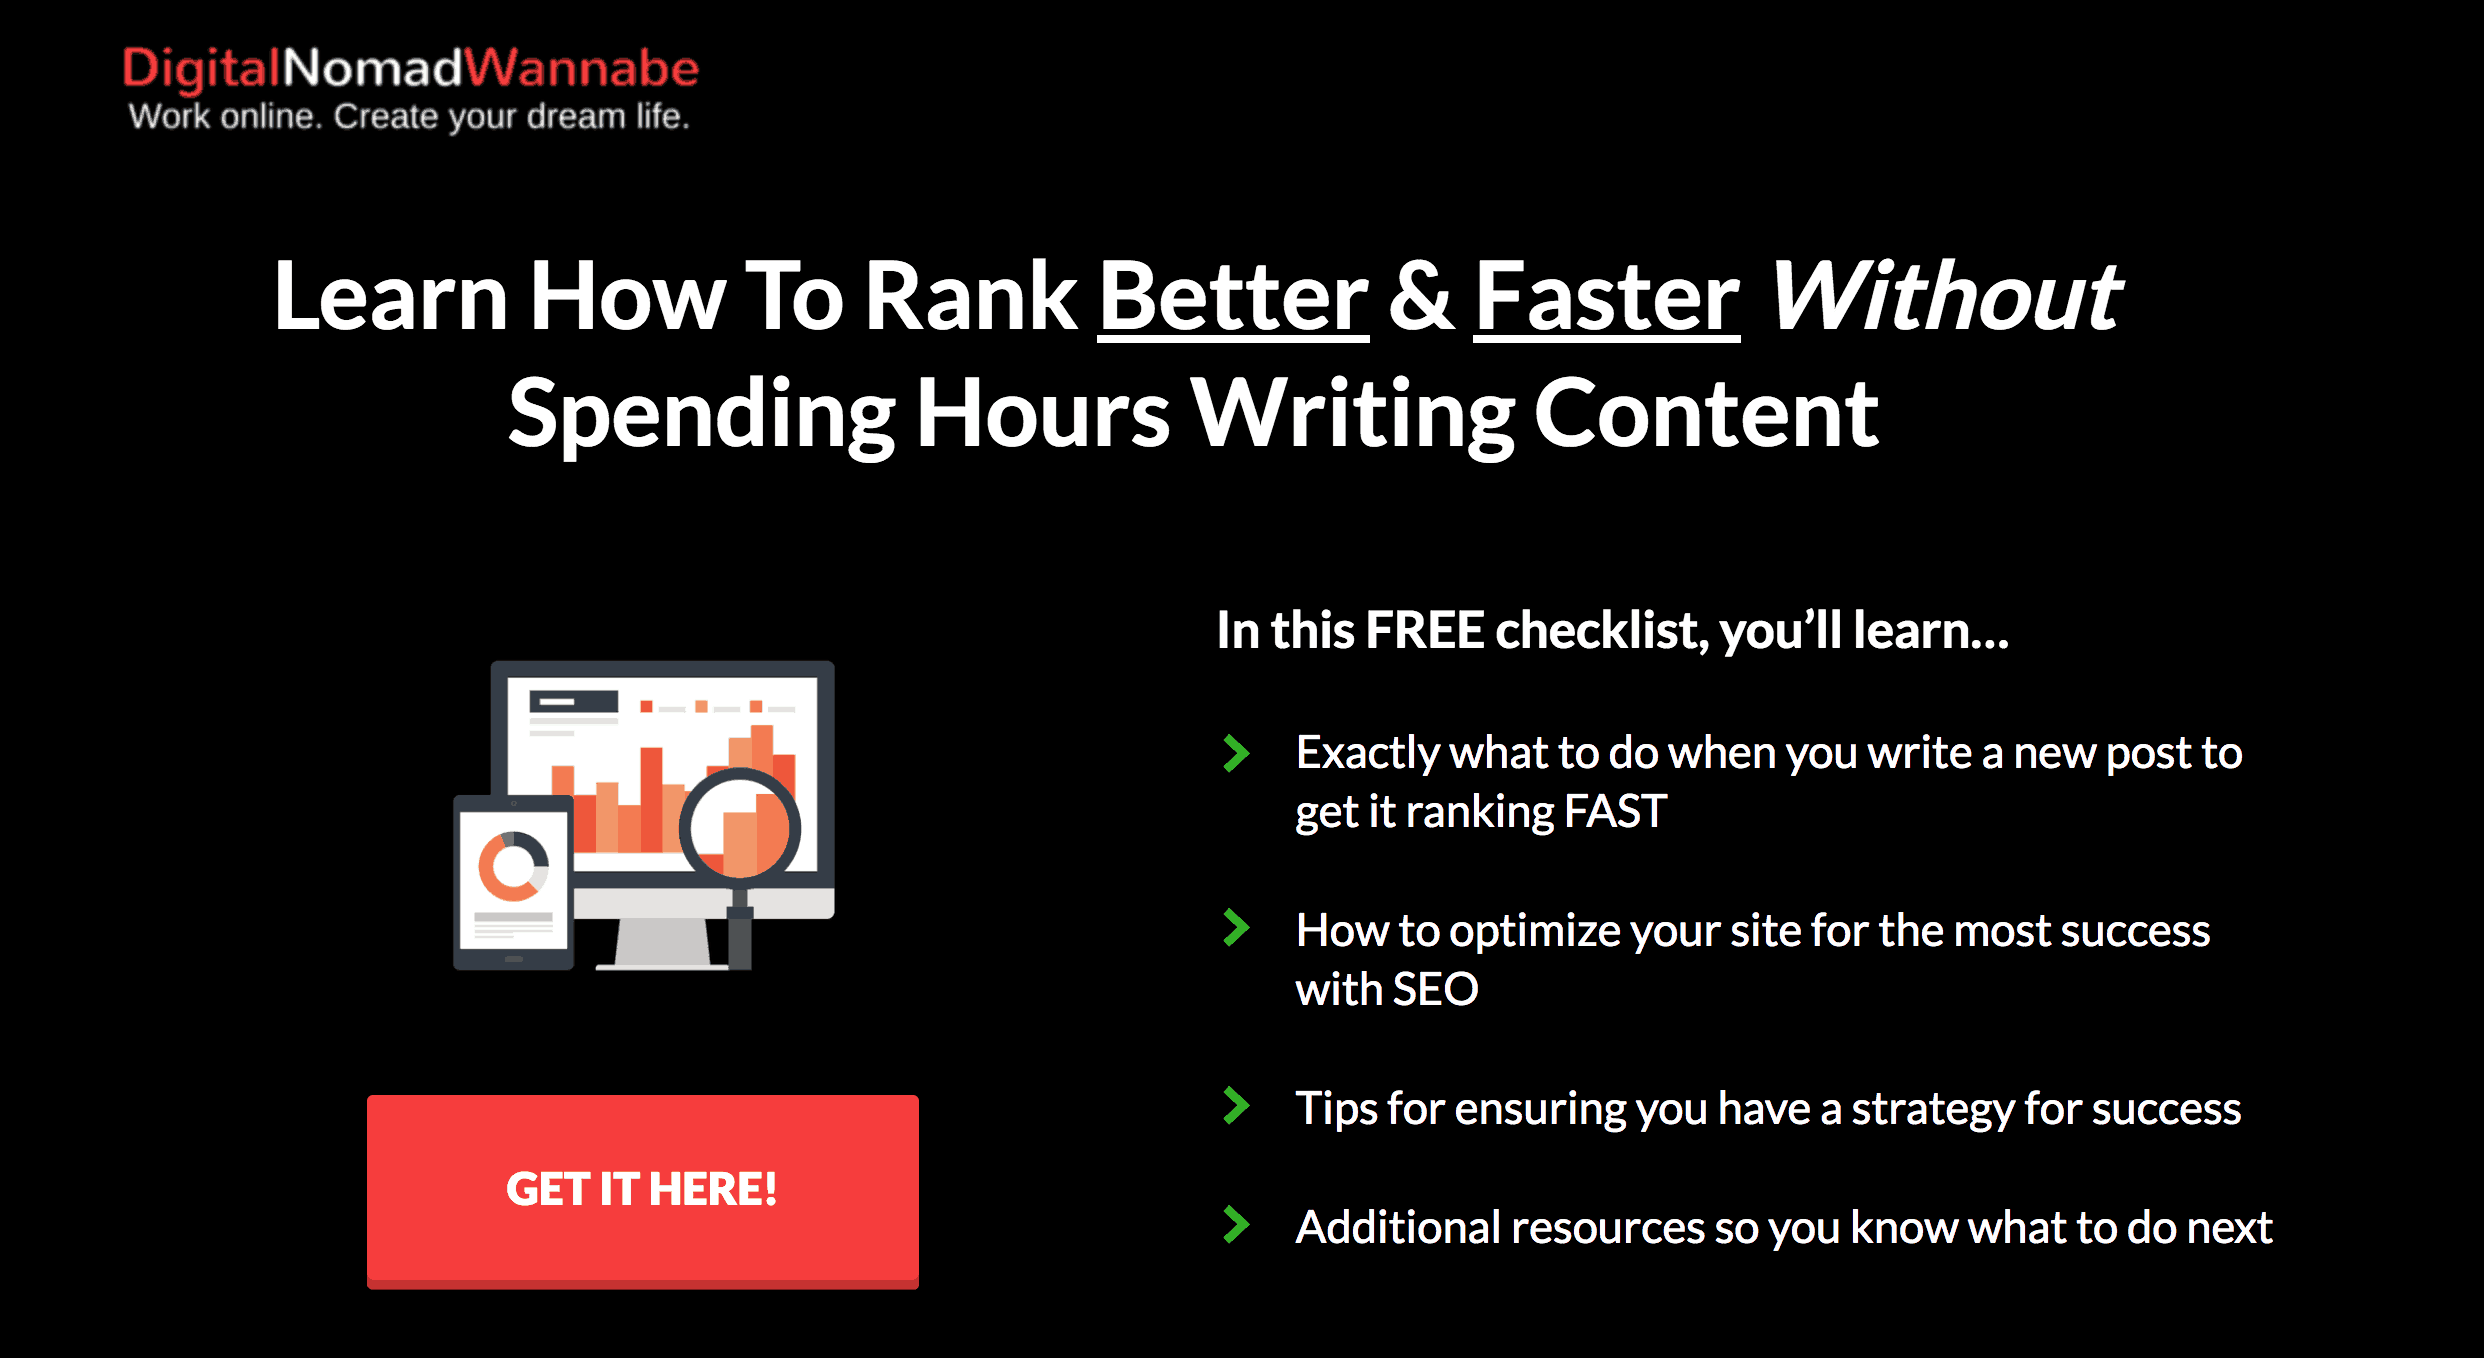
Free SEO Checklist landing page
Landing pages
Landing pages are pages on your site which are solely dedicated to getting someone to perform some type of action. In this case, we want people to subscribe to our site in return for our lead magnet.
When it comes to creating landing pages, the main things to focus on include:
- The headline – make it compelling and focus on the benefits of your lead magnet.
- The layout – try and have everything appear on a single page. Include a short description of the lead magnet.
- The call to action – use a different colour for the button to make it stand out.
- Then have nothing else on your page. You don’t want to distract from the main action you want readers to take.
For detailed information on creating lead magnets click here.
3. Creating an email challenge
Email challenges (or email courses) are a great way to engage your audience and help them achieve something in just a short time period.
Email challenges consist of one small task a day that is emailed out over a set time period. We’ve found 5-7 days works best. Longer challenges usually result in less people actually finishing the challenge.
When creating an email challenge, it’s really important to consider the objective you’re trying to achieve.
“The aim of a challenge is to show people that it is possible to achieve real progress in a short amount of time and that you can give them that progress.
So you want to think of ONE thing your subscribers can achieve over the course of the challenge which will help them see real progress and will grow your authority.
Break tasks up as much as possible. We want the email challenge to be super simple so that people do not quit.
We also want the challenge to align nicely with our paid product so that the next natural step is purchasing it.
An email challenge can be automated or run as a one off challenge. You can also run it across your social media channels as well like a Facebook Group. But do ensure that people still need to give their email addresses to receive the tasks so that you capture this.
“It’s important people sign up to our email list to participate in the challenge as this is one of their biggest benefits – they train subscribers to create the habit of opening our emails daily.
At the end of an email challenge, the next day you should email again at the regular time to invite subscribers to the next stage of your sales funnel. In our case, this is an invite to the webinar. Alternatively, you could begin your email sales sequence.
Subscribers are well trained to open your emails at this point so make sure you take advantage of it!
What we do
We have run several challenges in the past, but two we currently use are the 7 Day Link Building Challenge and the 5 Day Goal Setting Challenge.
The Link Building Challenge runs over seven days with a small task per day where subscribers learn an aspect of link building. The aim is to build two links per day for seven days.
Each day the subscriber gets an email which links to a page on this site where there is a video with most of the information, and a task for the challenge.
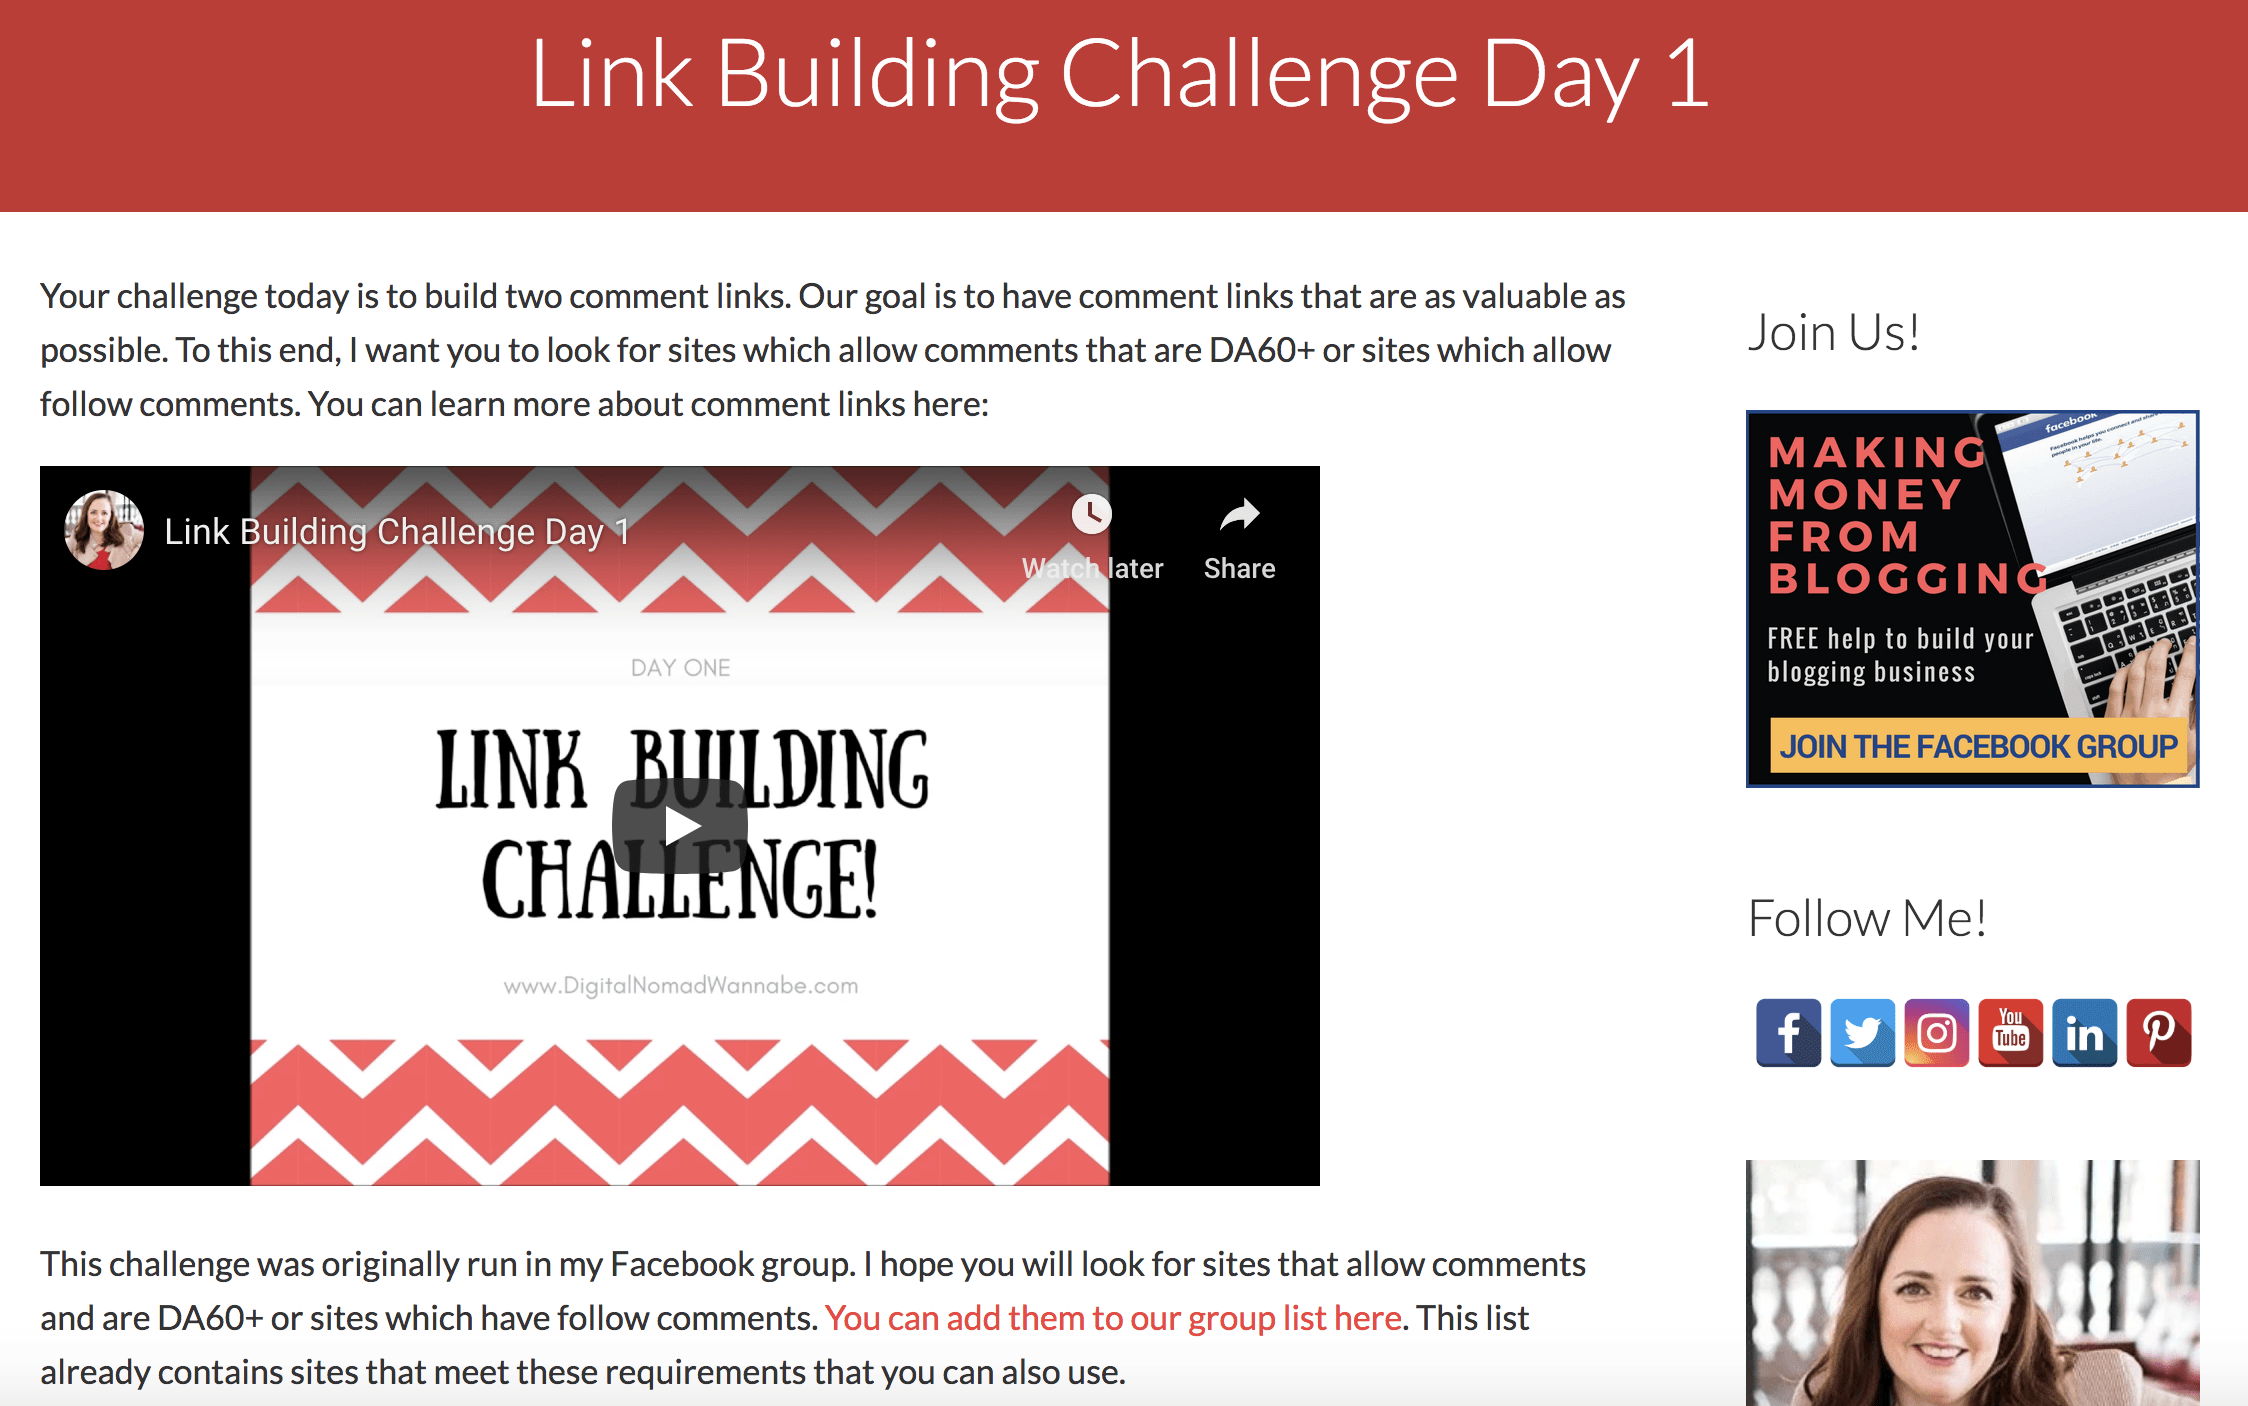
Day 1 of the Link Building Challenge
This challenge complements my free Facebook group DNW – Making Money From Blogging as there are some resources in there that encourage sign ups and interaction.
However, subscribers can complete the challenge without being part of this group too. It just complements it as a way of encouraging my subscribers to also join my group.
I find it takes about one full day to create a new challenge including emails, pages on this site and videos. But then I can use it again and again.
4. Creating a webinar
Webinars are great because they give us our audiences full attention. They are perfect for showing our authority on the topic and to engage with our subscribers on a more personal level.
Webinars are also great for presenting a sales pitch. A good webinar should start with valuable training and be able to switch to a natural sales pitch at the end where our product is the next logical step. This makes them less salesy and more valuable for our audience as they recognise we aren’t merely selling a product, we’re trying to help them achieve the results they’re after.
A successful webinar involves four steps, discussed below.
Step 1: Creating the content
The content is the most essential step. The content needs to be great, providing a lot of value so that it shows your knowledge and authority and so that you really help your subscribers. They should finish the webinar able to achieve results with whatever you discussed.
The webinar needs to be great because it is your best chance to sell your product in your sales pitch. Obviously, your webinar shouldn’t just be a sales pitch, but it should be an important part of it and a natural progression from your content. The pitch should take up around 10 – 20 minutes of time depending on how long your training was – it should take up less time than your training.
We start our sales pitch with a summary of everything attendees have learned in the webinar, followed by an introduction to our product and how it helps them achieve the results they’re after. We use call to actions, urgency with a bonus offer, case studies and FAQ’s in this time, as well as future proof (where we have them imagine the benefits of the program) and justifying the price we charge (showing them exactly why it’s worth it).
It can be tough to do all this in just 15 minutes, but the important thing is not to get bogged down into detail.
The webinar should be no longer than 45 – 70 minutes and include a possible Q&A. You obviously can’t show everything in 45 minutes, so don’t get too far into the detail.
However the webinar isn’t just about the content. It also needs to feel personal, leaving people feel understood so that the sales pitch is natural.
“Note that webinars take a lot of energy. Practice a lot and try and make the transition to a sales pitch sound as natural as possible.
Step 2: Getting sign ups
There’s no point running a webinar if no one watches it so getting people to sign up is an essential step.
I recommend you send out at least 2 emails to your email list to encourage sign ups. When you first launch a webinar, you can send this to everyone on your list. Ongoing, you can send this just when new subscribers hit that point in your sales funnels.
You can also write blog posts in the lead up that are similar to the webinar’s content and encourage direct sign ups on that. You should have a landing page for your webinar which you can also link to across your blog and on social media.
If you want to reach a much wider audience, Facebook Ads are an option too.
Step 3: Running the webinar
I recommend you use webinar software for the best results. I would go as far to say as it’s essential for higher priced products. Webinarjam is what we use for live webinars and we highly recommend them.
They aren’t overly cheap, but they are a necessary tool.
I also recommend sending some pre-webinar emails so that people remember to attend. This is particularly important 24 hours and 1 hour before the actual webinar.
Step 4: Following up
Following up involves everything you do before you send out your sales emails.
Send out a replay of the webinar to both people who did and didn’t attend. Using a system like WebinarJam, you can send different emails based on whether they attended or not.
Include a reminder of the product you offered for sale at the end of your webinar.
5. Writing sales emails
Sales emails are important. You’ve spent this long fostering a bond between you and your subscriber, and this is your chance to utilise that in an efficient and effective way.
Keep in mind that some people may enter your email sales sequence even if they don’t sign up to the webinar, so they need to be applicable to everyone. In some circumstances, you may need to send different emails based on the subscriber’s situation.
When writing sales emails, consider the three main parts:
- The subject – This is what gets the subscriber to open the email.
- The text – This is what gets them excited about our product.
- The placement of links – This is what gets them to the sales page.
Regarding the length of email sales sequence, it differs based on a number of factors, primarily the price of your product.
“Remember to continue to offer value in your email sales sequence and to be transparent. A confused mind always says no!
What to include in emails
For a recent successful launch, we sent one email a day over 6 days, with 2 emails sent in the final 24 hours which worked well. The sequence we followed for SEO Freedom is laid out below.
- Email #1 sent 144 hours (6 days) before the end of launch – This email discusses the benefits of using SEO on their blog and how SEO Freedom can help.
- Email #2 sent 120 hours before the end of launch – Sent to people who watched the webinar, discussing the major benefits of SEO, what it can do for blogs and what SEO Freedom can do for them.
- Email #3 sent 96 hours before the end of launch – Provides additional SEO tips to help people have more success with SEO and to show authority and knowledge.
- Email #4 sent 72 hours before the end of launch – Shows testimonials of bloggers who have completed SEO Freedom and seen results.
- Email #5 sent 48 hours before the end of launch – FAQ
- Email #6 sent 24 hours before the end of launch – Limited time 24 hour bonus to encourage people to take action
- Email #7 sent 6 hours before the end of lunch – Final offer and bonus reminder
We found this was enough emails to keep subscribers engaged and enough time to consider the costs and benefits of taking action.
6. Building a long-form sales page
A sales page isn’t just a place where you list your product for sale. Your sales page will go more in-depth, often telling a story, addressing key things about your audience, the struggles they face and how your product can help solve these struggles.
The only way to do this successfully is to understand your audience and subscribers. Therefore, the majority of the time you spend creating a sales page will actually be spent researching about your audience, their problems and understanding them so you can successfully target them with your writing.
What to research
You first need to create some type of profile for the type of customer you want to attract. Where do they live? What do they do for work? What are their hobbies/interests?
For example, I know a lot of Digital Nomad Wannabe readers are interested in travel, so I use this in my marketing.
What are their main concerns about buying your product? Price? Quality? This can help clarify these points on your sales page. You could find this out by emailing out a questionnaire. I often ask questions and set polls in my Facebook group to better understand my audience.
Once you understand your customer, it’s important to understand your product from their perspective. List every feature of your product and then follow it with the benefit for your audience.
For example, when I think about SEO Freedom, a feature is learning how to rank well in Google, the benefits of which mean the potential to earn more money.
Research other blogs that sell similar products. What advantage do you have over them?
Don’t underestimate the importance of this step. Understanding your customers is the most important part of writing great sales copy.
Writing your sales page
Once this is done, writing your sales page becomes easy. Your sales page should be laid out in sections. Writing it is all about following a formula. There are many formulas you can follow. The one we use is below.
- Headline and subheadings – This refers to both the main headline on your sales page and the sub-headings you use above each section. The best headlines draw attention, outline benefits, minimise fears and encourage action.
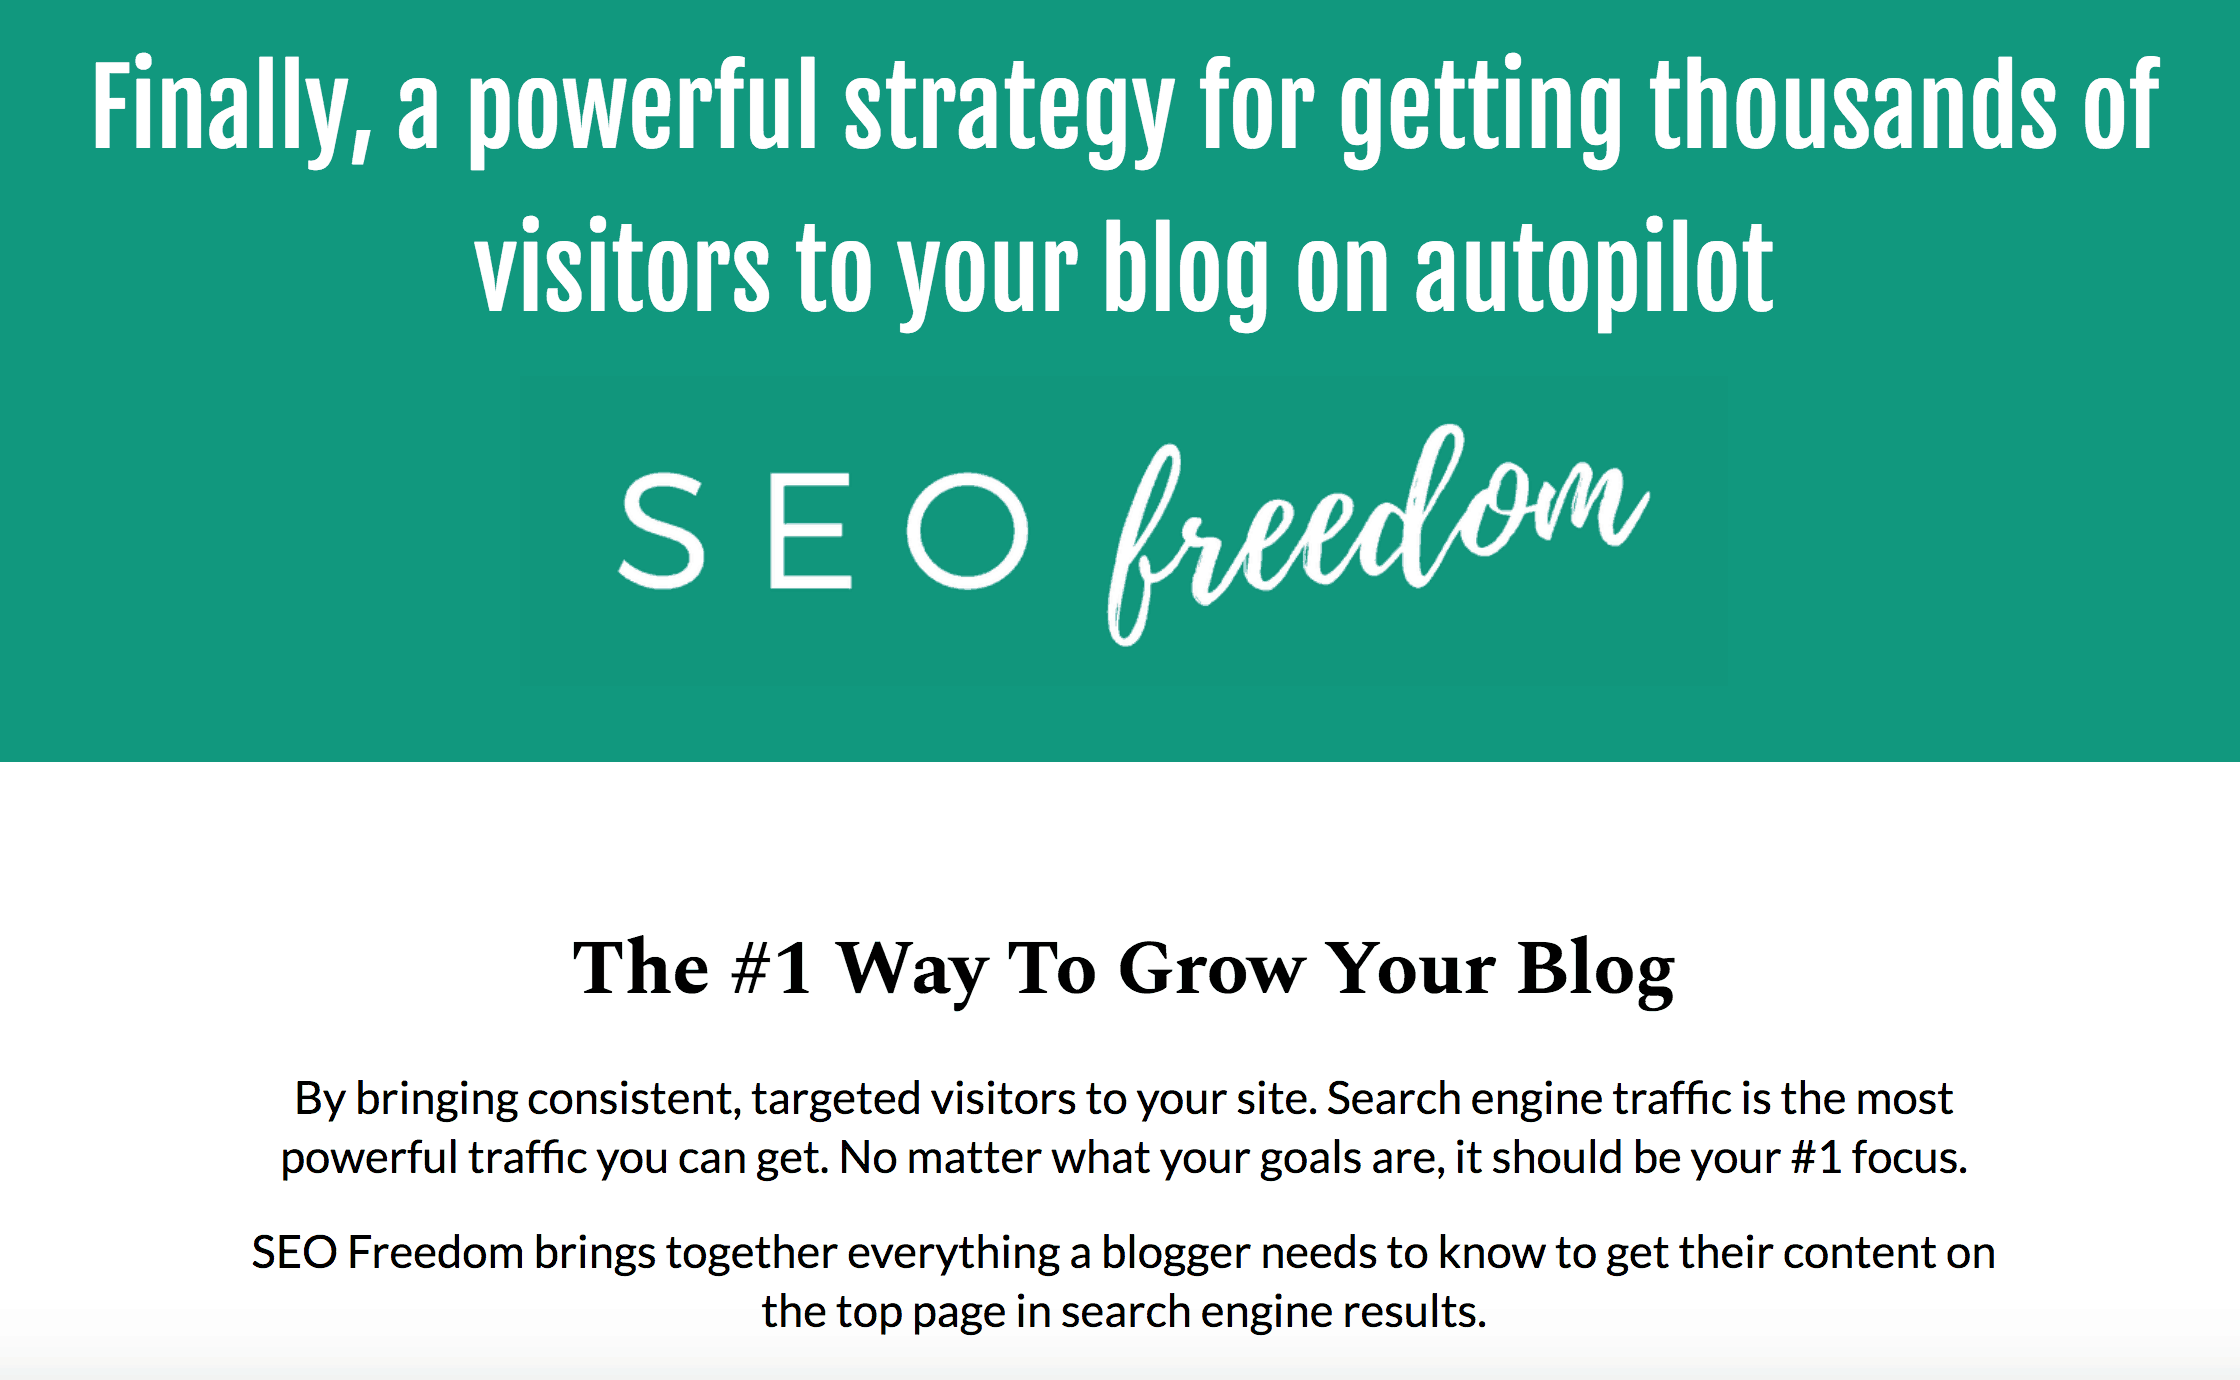
Headings on SEO Freedom sales page
“Headlines and subheadings are the most important part of your sales page. The more compelling they are, the more likely people will be to read the content beneath them.
- Outline a problem – Consider that every potential customer that visits your sales page has a problem that your product can solve. You discovered this in your research. A good way to do this is to tell a story drawing on your own experience. This helps your potential customers feel understood and like you can help them.
- Solution – Here you can outline that a solution exists to the problem above. It’s great to draw on the senses – how does the solution feel, smell, taste? What are the benefits?
- Authority – Outline your credibility by including a short relatable bio. Include a picture to make it personal.
- Offer – This is where you outline your product exactly, without ambiguity. List every feature and every potential benefit your product could have for the customer.
- Testimonials – Social proof is a great way to improve trust on your sales page. If you haven’t any testimonials yet, offer your product to others free in return for a testimonial (if you do this you’ll need to include a FTC disclosure). Testimonials should include a written statement, a picture, name and their blog/company.
- Urgency – People need a push to take action. Include something which prompts people to take action now. This could be a limited time bonus offer, price discount or just outlining the risks of not taking action now. It’s great to include a countdown timer too.
- Remove risk – You can remove risk by adding an FAQ section and offering some kind of guarantee, whether that be a refund period, free trial, ongoing support etc.
- Call to action – This is where you state the action you want the potential customer to take. Present the offer again in simple dot points, clearly state the price and include a simple statement such as “Sign up here”, “Get Instant Access”, “Buy Now” etc.
You can download a Sales Page Blueprint with all these steps by clicking here.
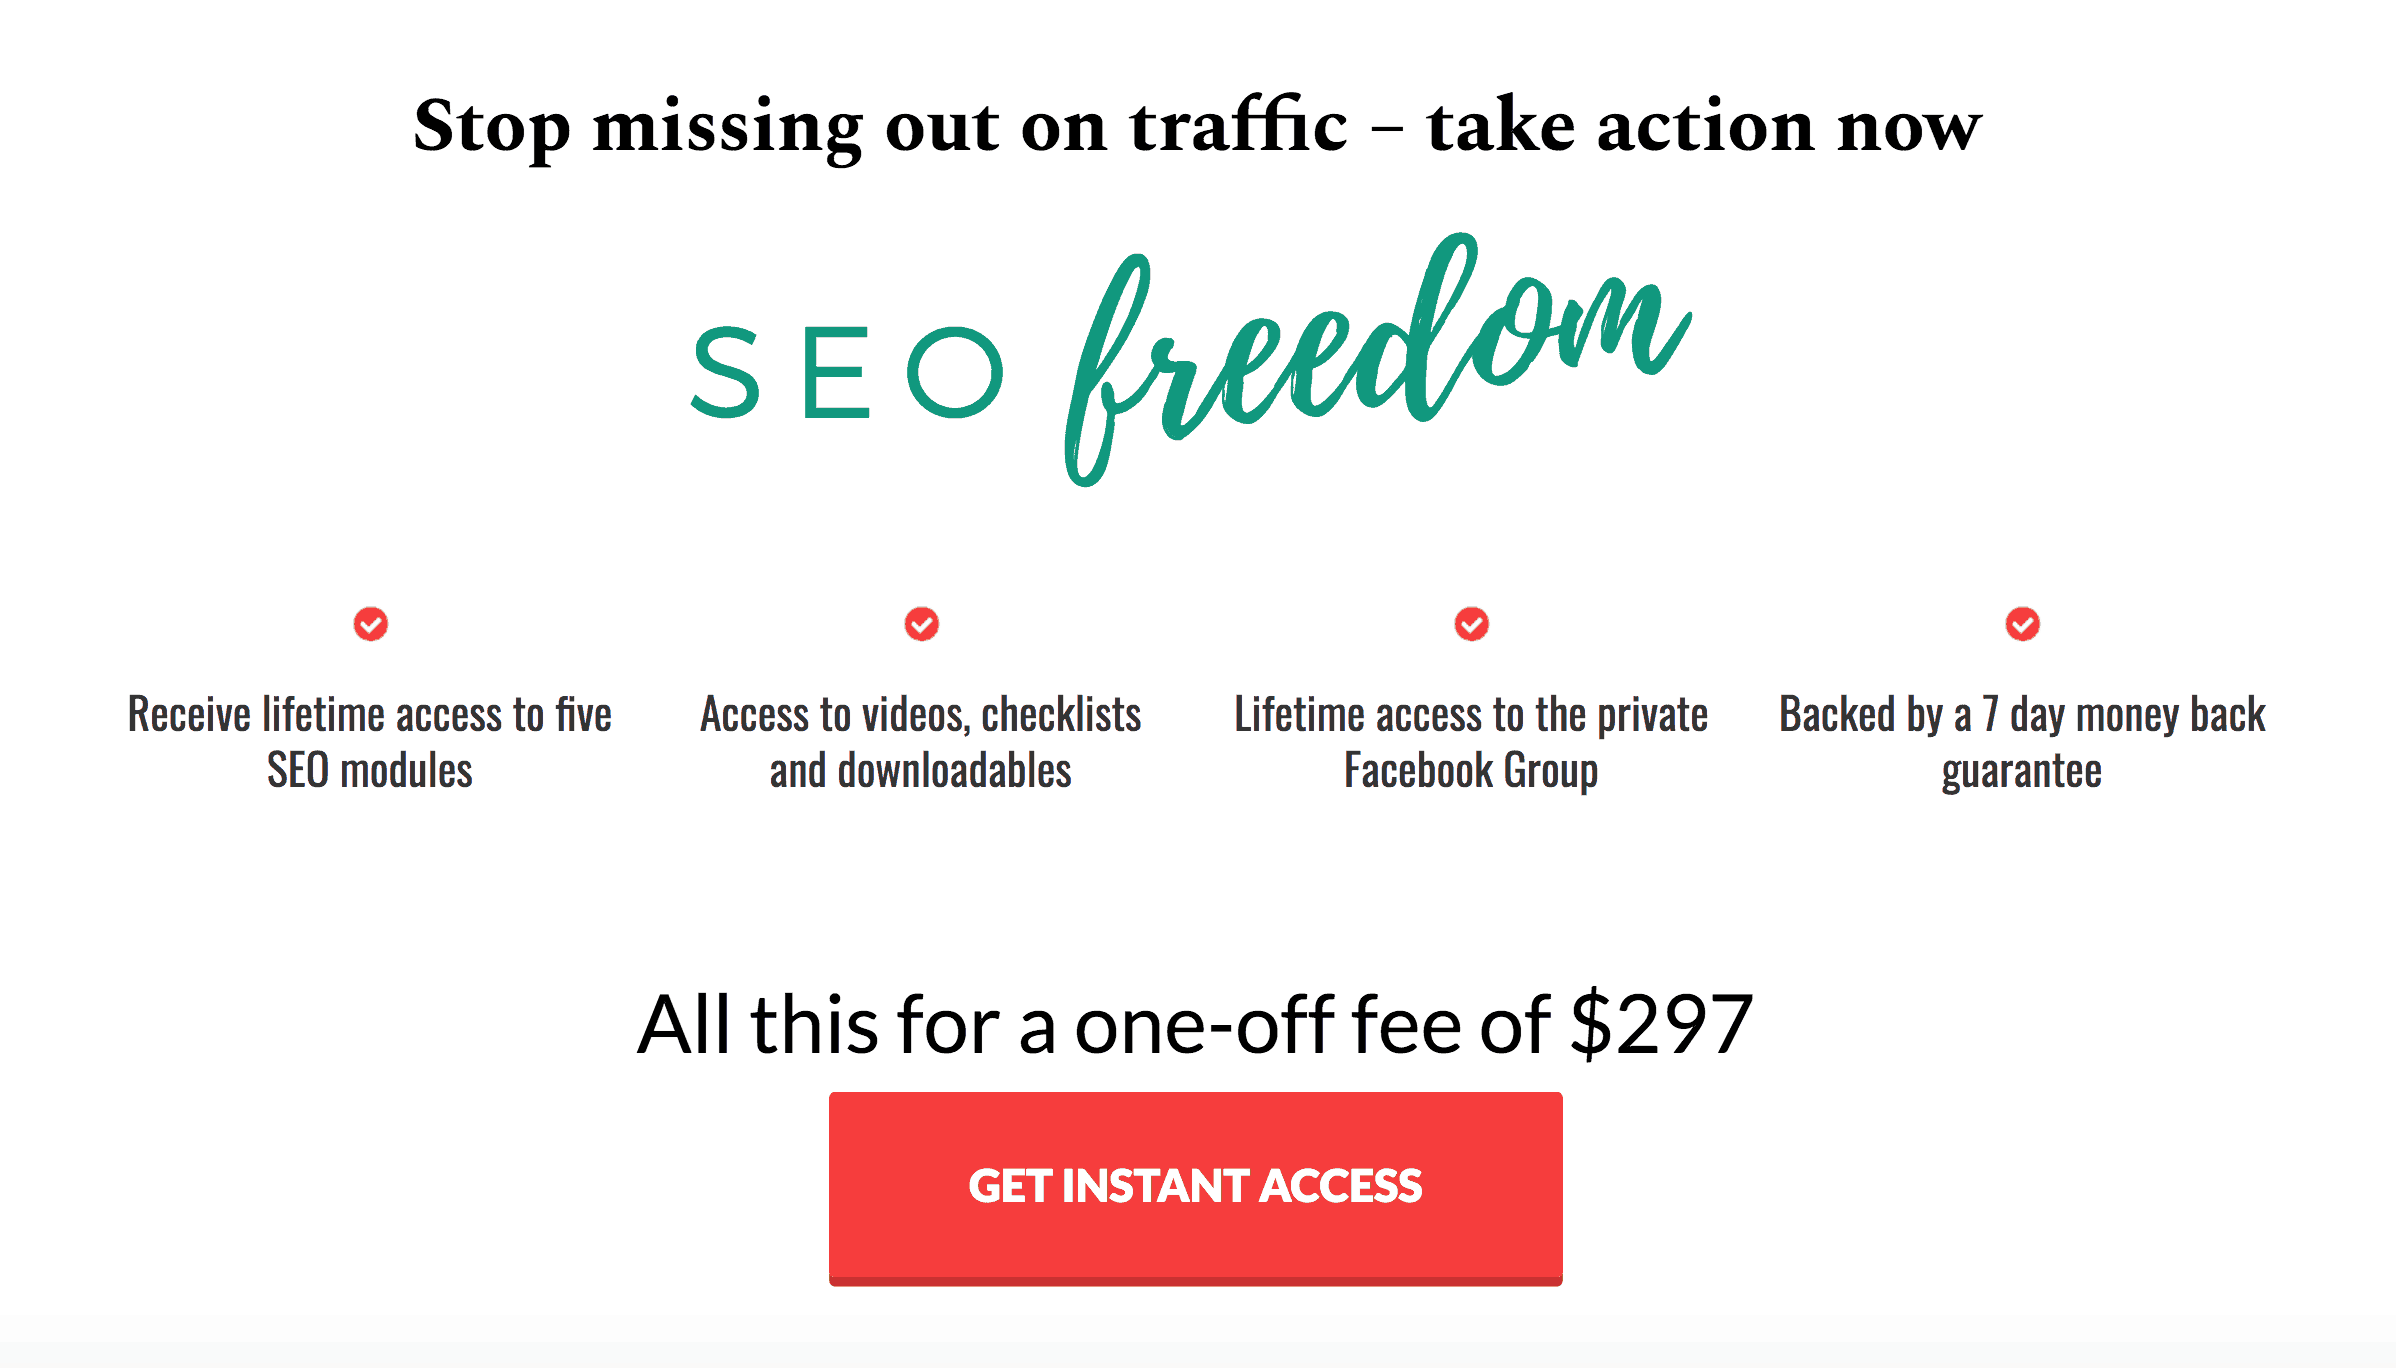
Call to action on SEO Freedom sales page
Depending on how complex your sales funnel is, you may need to build multiple sales pages and have them redirect at certain points during your sales period. We do this with a tool called Deadline Funnel. It also automatically shows countdown timers which is useful for creating urgency.
7. Next steps
With the above steps implemented, you should be left with a sales funnel that works well. But an amazing sales funnel only works by monitoring and improving your results, and for this, you need to test and track.
You also need to know what ranges to aim for and how to improve results.
What to track and aim for
Everything above can be tracked. We track and aim for:
- Landing pages – conversion rate of over 40%.
- Webinar – attendance of over 60% of sign ups, with over 5% of attendees buying.
- Emails – open rates of over 40% and click through rates of above 5%.
- Sales pages – conversion rate of over 1% for products $500+
Use these results as a guideline so that you know where your sales funnel can be improved. The main thing is to try to beat yourself and whatever figures you are getting.
Improving results
There are so many ways to improve your sales funnel and, using the results above, it’s usually easy to locate where there are problems with your sales funnel.
It could be as simple as changing fonts and colours used on your sales and landing pages to totally changing the webinar or challenge.
For example, an email with a high click through rate but low opens may simply need the subject changed. Or the problem could be with the previous email – your subscribers didn’t like it which made them less likely to open your next one.
Another thing to consider is evergreen. This is where instead of certain launch periods, your product is always available for sale. Our evergreen is set up so that it appears to the subscriber like they are in a regular launch but it is all customised for them. We create urgency by offering limited time bonuses.
This is what every advanced sales funnel should ultimately aim for. It’s the best way to sell products and continually improve.
Read more about email marketing here or creating your perfect product here. Ask any questions below!
You can also find more posts on making money from blogging here.

